Shingles 102 – The Proper Installation of Asphalt Shingles
Installation of Asphalt Shingles
Preparation:
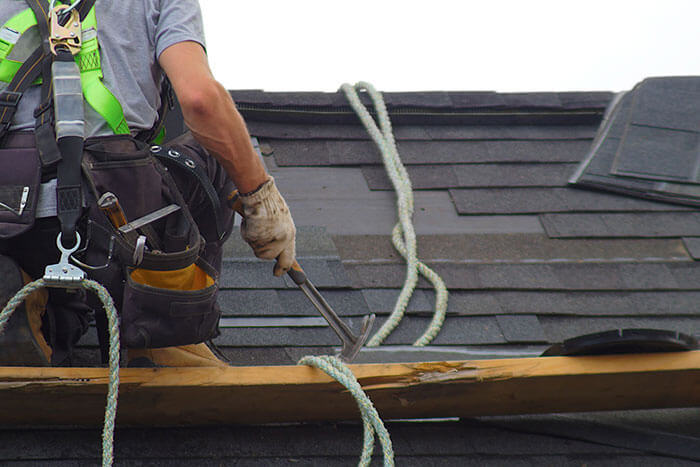
- The roof surface is inspected, and any damaged or old shingles are removed.
- A layer of underlayment, typically a waterproof felt paper, is applied to provide an additional moisture barrier. In some geographies, local code requires an ice and water shield product to be used from the roof’s edge up two to three feet.
- Flashing, a metal or plastic strip, is installed around roof features such as chimneys, vents, and skylights to prevent water penetration.
Starter Course Installation:
- A starter course is the first row of shingles installed along the roof’s eaves.
- Starter shingles are specifically designed with a strip of adhesive on the bottom to securely bond the subsequent rows of shingles.
Shingle Placement:
- Shingles are installed in rows, starting from the bottom edge and working upwards.
- Each shingle is nailed or stapled onto the roof deck, with the nails placed just above the adhesive strip to ensure a secure fit.
- The next row of shingles overlaps the previous row, creating a watertight barrier.
Hip and Ridge Installation
- Specialized shingles called “hip” and “ridge” shingles are used to cover the joints where two roof planes meet or at the roof’s peak.
- These shingles are flexible and designed to conform to the roof’s contours, providing an attractive and protective finish.
Asphalt shingles are a versatile and popular roofing material due to their cost effectiveness, durability, and ease of installation. The manufacturing process involves coating a fiberglass mat with asphalt and embedding mineral granules. During installation, proper preparation, the use of starter courses, and precise shingle placement ensure a well-protected roof. Understanding the process behind asphalt shingle production and installation can help homeowners make informed decisions about their roofing needs.


